Word Bead Charm Bracelet
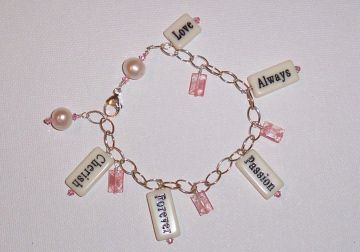
About This DesignTime: Approximately 30 minutes - 1 hour Level of Difficulty: Beginner - All Levels Cost: Varies, depending on materials selected. Approximately $15-20 as shown. This fun bracelet is made with inexpensive plastic word beads that I found in the craft store in the scrap booking section! Look around because a lot of different materials can be used to make jewelry. I created a charm bracelet using bulk link chain and a lobster claw clasp. The design is accented with pink Swarovski crystals and yummy cherry quartz faceted rectangle beads. Wouldn't this make a fun Valentine's Bracelet? Find your own word beads and create something uniquely your own. Want to make this bracelet, or a variation for yourself? Let's get started! Step 1Gather your supplies
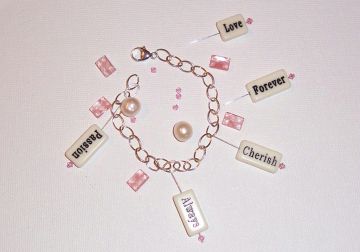
1 length of bulk link chain (for desired bracelet length plus extender chain for drop
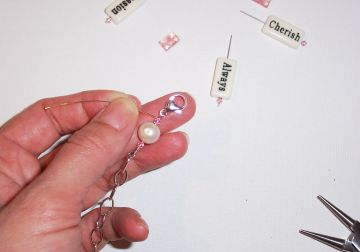
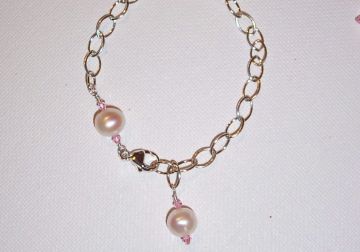
Need Supplies? Check my Jewelry Supply pages to find what you need! Step 2Attach the lobster claw clasp. Use a basic wire wrap chain technique to attach the lobster clasp to the chain, placing one pearl and two crystal beads in-between. If you need help with the wire wrap technique, click here for more instructions.
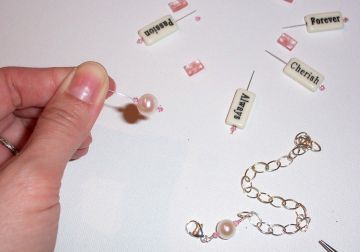
Step 3Prepare bead and charm components To save time, I prepare all my bead and charm components at the same time. Slide a Swarovski crystal bead onto a headpin, followed by a word bead, and make a loop at the top with round nose pliers. Do the same for your cherry quartz accent beads Using a basic wire wrap technique, attach each word bead to the chain. Need help with this wire loop technique? Click here for instructions. Next, using a bead design board, or ruler (or just eyeball it!), I determine where to place each bead on the links of the charm bracelet. Step 4Attach the pearl drop to the extender chain. This bracelet was made with a little extra length to serve as an extender chain. This way, the wearer can fasten the bracelet to the right length to fit. I always attach a dangle bead for detail to the end of the chain. To learn more about extender chains, click here. Slide a crystal, pearl, and another crystal onto a headpin and attach it to the end of the bracelet chain on the last link. Use a basic wire loop technique. Click here for instructions.
Step 3Attach beads and charms Now attach each charm by looping it through a link in the chain, and closing the jump ring using your chain nose pliers. Attach each bead, alternating beads and charms in your design. Feel free to add more beads until you are happy with your bracelet design. That's it!
IDEA: Have fun with this bracelet by spelling out your own messages using word beads.
|
Home How To Make Jewelry Jewelry Basics Jewelry Projects Designer's Gallery Jewelry Supply Jewelry Business Jewelry Books and More Contact Me Privacy Statement Copyright 2006 Smart Sisterz LLC |
Join our Newsletter for more free jewelry design projects and tips each month!
What's New?
Word beads and message beads are very popular and suppliers are coming out with lots of new beads for you to try. Check your favorite bead or craft store, or check eBay for auction bargains. Buy message beads on eBay and save money.
