Pet Name Bracelet
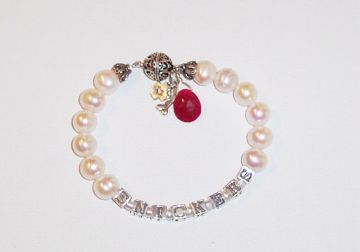
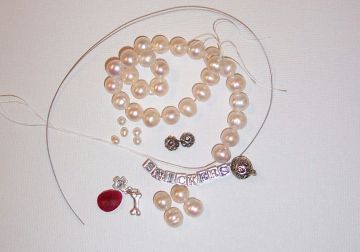
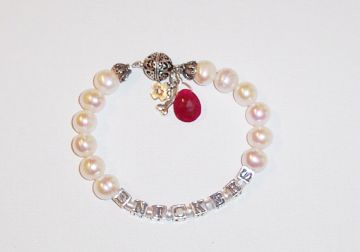
About This DesignThis pet name bracelet design is dedicated to the memory of "Snickers", my mom's beloved Maltese dog who passed away on 3/28/06. Snickers was pure white, so I used snowy white pearls in my bracelet design. Time: Approximately 30 minutes - 1 hour Level of Difficulty: Beginner - All Levels Cost: Varies, depending on materials selected. Approximately $35-40 as shown. This pet name bracelet is a wonderful gift for any animal lover in your life. Use alphabet beads to spell the pet's name, and select a pet charm or two (cat, dog, horse--whatever!). Use any beads and clasp that you like. In my design I used pearls and a decorative magnetic clasp, with a doggie bone and cross charms, and red gemstone briolette bead as an accent. Want to make this bracelet, or a variation for yourself? Let's get started! Step 1Gather your supplies
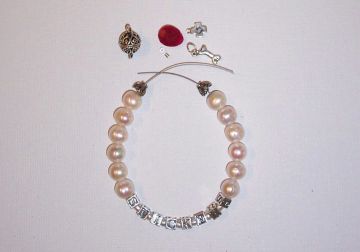
Need Supplies? Check my Jewelry Supply pages to find what you need! Step 2Slide beads onto jewelry wire Knot one end of your jewelry wire, or place a piece of tape on the end so the beads don't fall off. String your beads onto the wire. Use a bead design board or a ruler to make sure the bracelet is the right length (factor in the clasp!). You may need to add or remove beads depending on how many letters are in your name to get the proper length. Start with a bead cap (facing towards the beads), string your beads, then start the Alphabet beads. Place one smaller round bead in-between each of the alphabet block beads.
Step 3Crimp beads to attach clasp, then attach charms Now you are ready to attach the clasp and charms. Slide one end of the wire through a crimp bead, around the loop on the clasp, then back through the crimp bead. Use crimping pliers to close the crimp, and then repeat on the other side. If you need instructions on how to crimp beads, click here. Using my silver wire, I wire wrap a loop on the top of the briolette bead (click here for instructions). I use a jump ring to attach both of my doggie charms and the briolette bead to the loop on one side of my clasp. That's it!
|
Home How To Make Jewelry Jewelry Basics Jewelry Projects Designer's Gallery Jewelry Supply Jewelry Business Jewelry Books and More Contact Me Privacy Statement Copyright 2006 Smart Sisterz LLC |
What's New?
Coming Soon! Join our Newsletter for free jewelry design projects each month!


