Pearl and Crystal Necklace Project
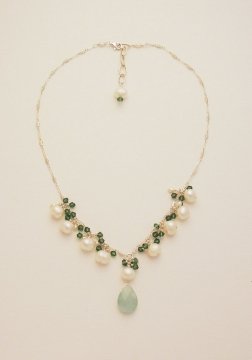
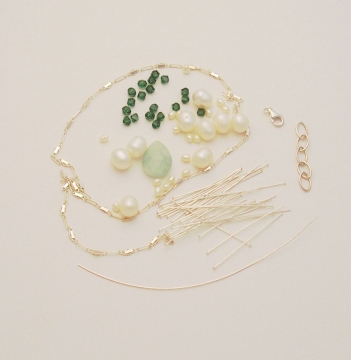
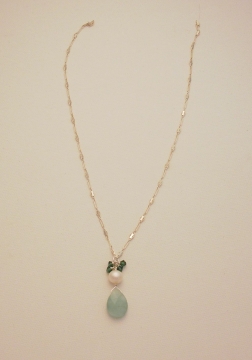
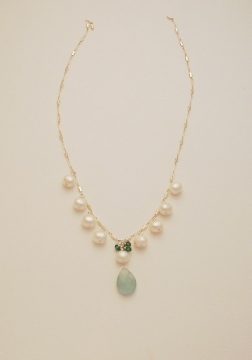
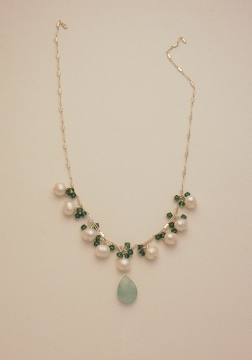
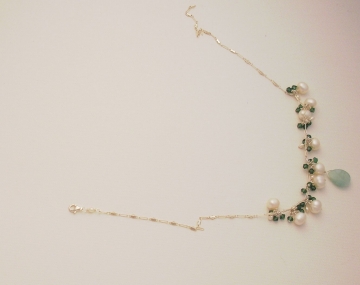
About This DesignTime: Approximately 1-2 hours Level of Difficulty: All Levels (with Basic Wire Wrapping Knowledge) Cost: Varies, depending on materials selected. Approximately $25-35 as shown. This is a feminine necklace and the cascades of crystal beads really sparkle and catch the light. I have used an amazonite pear shaped briolette bead as a focal bead on the bottom, but you can use any bead you want in your design. Want to make this necklace, or a variation of it for yourself? Let's get started! Step 1Gather Supplies Notes: Decide how long you want your necklace to be. I went for a standard 16 inch length, (less the added length for your choice of clasp).
Need Supplies? Check my Jewelry Supply pages to find what you need!
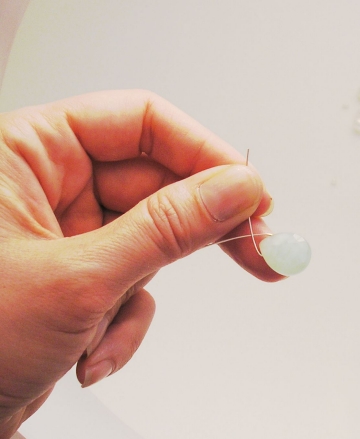
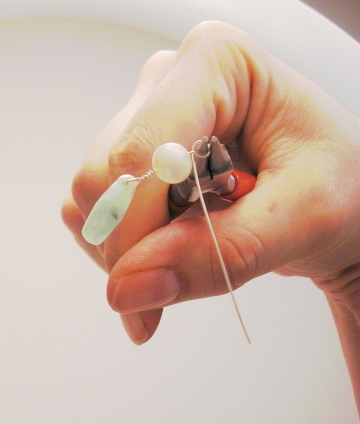
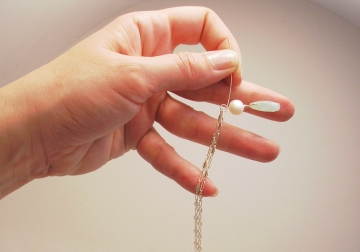
Step 2Begin Pendant Bead I am using a briolette bead. Wire wrap the briolette, attach a pearl to the top. If you aren't familiar with this technique, read How to Wire Wrap a Briolette for instructions.
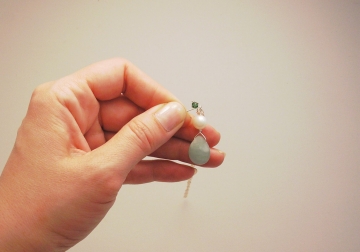
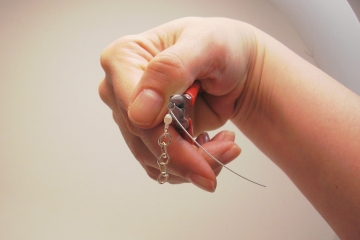
Step 3Attach Pendant Attach the pendant to the center of your chain. Finish closing the wire wrap loop on the top of your pearl bead, and snip off end of wire.
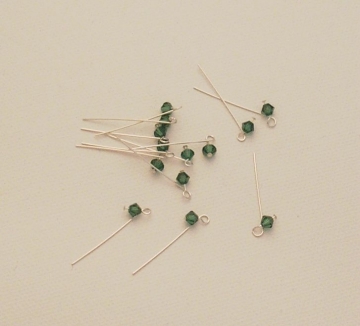
Step 4Prepare all your dangly beads I have prepared all of my crystals and pearls with wire loops ahead of time, so they are ready to attach.
Step 5Attach crystals to pendant I attach four crystal dangly beads as accents to the top loop above the pearl bead. This creates a nice "spray" of crystals as an accent to the pearl bead.
Step 6Attach remaining pearls Use a bead board or a ruler and determine the spacing of the pearls. You will place four pearls on either side of the center pearl pendant. Once you have determined the correct placement, attach your pearls to the chain.
Step 7Attach remaining crystals and seed pearls Attach 3 crystals to the loop at the top of each pearl, and attach one seed pearl bead. This creates a nice "spray" at the top of each pearl. You can add or subtract pearls and crystals to get the effect you want.
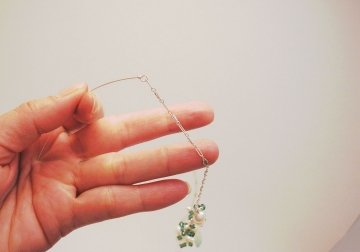
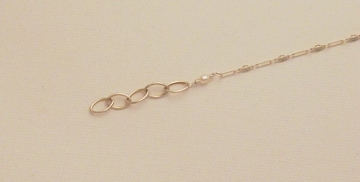
Step 8Attach the clasps Using wire, create a loop, place one seed pearl in the center, and create another loop. Attach the chain to one end, and the extender chain or one side of your clasp to the other. One the other side of the necklace, repeat this technique and attach the other side of your clasp. In my example, I have attached a lobster claw clasp to one end, and an extender chain to the other.
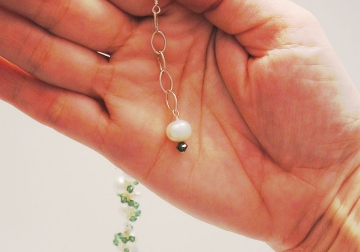
Step 9Finishing touch If you have used a piece of bulk extender chain as I have, you will want to attach a final detail for decoration. I have attached one more pearl with a crystal as a dangle off the end of my extender chain. That's it!
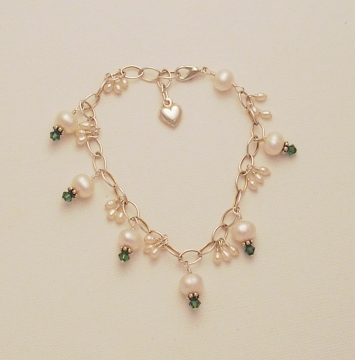
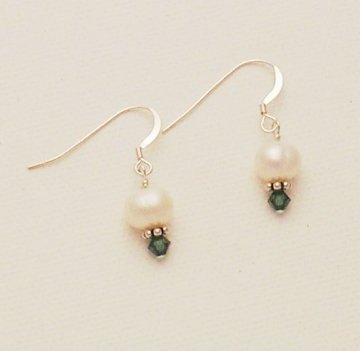
VariationsThis design is highly adaptable. Use any focal bead you like in this pendant design. A lampwork or dichroic glass bead would make a nice focal point. Also, you don't need to use pearls. You can completely change the look and feel of this design simply by using different beads. Try coral and turquoise beads to get a more rustic look. Try a focal shell bead for a casual summer look. For a wedding design, find a wonderful center bead, perhaps a fine quality semi-precious gemstone (like blue topaz for "something blue"), and use white pearls and clear crystals. You could make matching bridesmaids necklaces and use crystals and pearls that match the color of their gowns. More IdeasHere I have created a matching set:
|
Home How To Make Jewelry Jewelry Basics Jewelry Projects Designer's Gallery Jewelry Supply Jewelry Business Jewelry Books and More Contact Me Privacy Statement Copyright 2006 Smart Sisterz LLC |
Hot off the presses! - Start Your Own Home Jewelry Party Business Today!
Join our Newsletter for more free jewelry design projects and tips each month!
