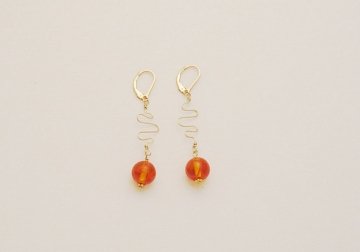
Lampwork Bead and Wirework Earrings Project

About This Design
Time: Approximately 30 minutes
Level of Difficulty: All Levels (with Basic Wire Wrapping Knowledge)
Cost: Varies, depending on materials selected. Approximately $15-20 as shown.
These earrings are wonderfully fun, swingy and eye-catching. Make these using any lampwork glass bead and either silver or gold. I wanted to showcase some red and gold lapwork beads, so I chose to make this pair of earrings using 14kt gold-filled wire and components.
Want to make these earrings, or a variation for yourself? Let's get started!
Step 1
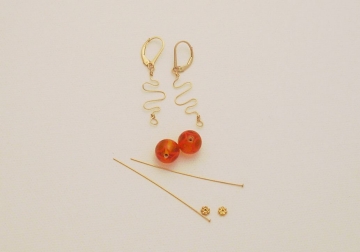
Gather your supplies
- Two lampwork beads of your choice. Here I am using medium sized round red lampwork beads
- Two earring components of your choice. I am using leverbacks, but you can use french hooks or posts if you prefer. TIP: I use leverbacks on heavier or longer designs because they are more secure. If you use hooks, attach a rubber backer to them to keep from sliding forward out of ears!
- Gold-filled or Sterling silver wire for wrapping "wiggles"
- 2 headpins
- 2 daisy spacer beads
Need Supplies? Check my Jewelry Supply pages to find what you need!

Step 2
Create lampwork bead components
Slide a daisy spacer and your lampwork glass beads onto a headpin, and make a basic loop. If you are not familiar with this technique, read How to Wire Wrap a Basic Loop.
Step 3
Make wire wiggle components
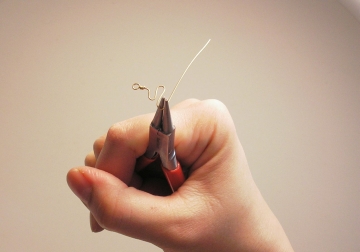
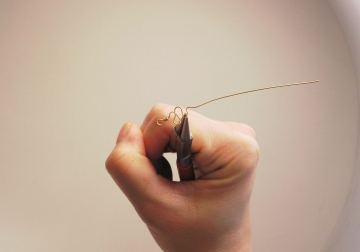
Take a 5-6 inch length of your wire and straighten it with nylon jaw pliers. Make a wire wrapped loop on one end, and attach the lampwork bead component on that loop. Using your round nose pliers, begin to wrap the wire back and forth in a fun squiggle design. Make this as long, short, and wide as you like as a matter of design preference. My wiggles are about 1 inch long. At the other end, create a right angle bend with flat nose pliers, and create another wire wrapped loop. Squeeze the finished wiggle component gently with nylon jaw pliers to "harden" the wire a bit. While this isn't absolutely necessary, it makes the wire stiffer and stronger to hold the shape.
Repeat this for the second earring piece.


Step 4
Attach to earrings
Now, use your flat nose pliers to attach the finished components to your earrings. That's it!
| 


