Garden Charm Bracelet
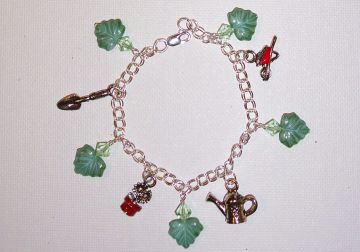
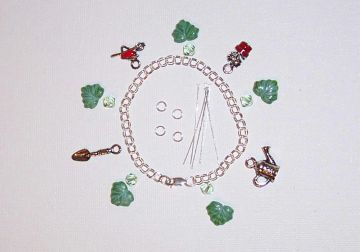
About This DesignTime: Approximately 30 minutes - 1 hour Level of Difficulty: Beginner - All Levels Cost: Varies, depending on materials selected. Approximately $20-30 as shown. This easy garden charm bracelet can be made with any charms you like. Inspired by spring, I have selected a set of garden themed charms, and I had some nice leaf beads that I used with Swarovski crystal beads as accents. I used a pre-made charm link bracelet for this design which makes it super fast--just attach the charms and beads and you are done. Want to make this bracelet, or a variation for yourself? Let's get started! Step 1Gather your supplies
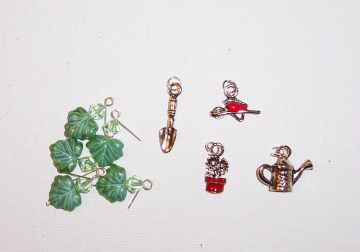
Need Supplies? Check my Jewelry Supply pages to find what you need! Step 2Prepare bead and charm components To save time, I prepare all my bead and charm components at the same time. I thread a leaf bead, then a Swarovski crystal bicone bead onto a headpin, and make a loop at the top with my round nose pliers. Using a basic wire wrap technique, I will attach each bead to the chain. Need help with this wire loop technique? Click here for instructions. Next, using a bead design board, or ruler (or just eyeball it!), I determine where to place each charm and bead on the links of the charm bracelet. My charm set did not come with jump rings attached, so I also attach one jump ring to each charm. If you don't know how to use jump rings, click here for instructions. You can also use split rings if you prefer, for added security.
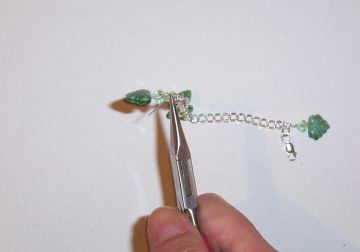
Step 3Attach beads and charms Now attach each charm by looping it through a link in the chain, and closing the jump ring using your chain nose pliers. Attach each bead, alternating beads and charms in your design. Feel free to add more beads until you are happy with your bracelet design. That's it!
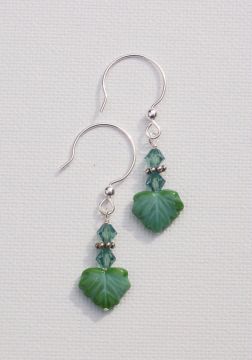
Matching Jewelry SetTry making these matching earrings for a complete set! Leaf Bead Earrings
|
Home How To Make Jewelry Jewelry Basics Jewelry Projects Designer's Gallery Jewelry Supply Jewelry Business Jewelry Books and More Contact Me Privacy Statement Copyright 2006 Smart Sisterz LLC |
What's New?
Coming Soon! Join our Newsletter for free jewelry design projects each month!
