Swarovski Crystal Chandelier Earrings Project
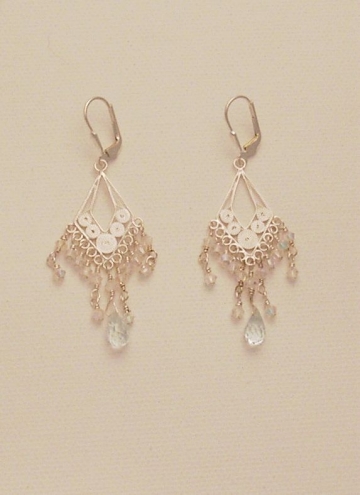
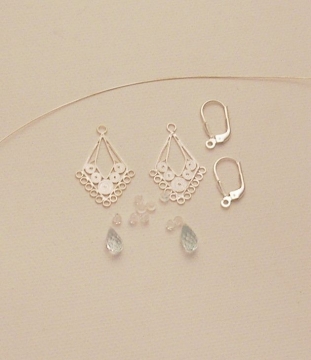
About This DesignTime: Approximately 1-2 hours Level of Difficulty: All Levels (with Basic Wire Wrapping Knowledge) Cost: Varies, depending on materials selected. Approximately $15-25 as shown. These chandelier earrings are wonderfully fun, swingy and eye-catching, and chandelier style earrings are still going strong as a fashion statement. Make these in any colors you desire. I wanted to showcase some super fine aquamarine briolette stones, so I chose totally clear Swarovski crystal beads to complement but not compete for the delicate aqua of the gems. Want to make these earrings, or a variation for yourself? Let's get started! Step 1Gather your supplies
Need Supplies? Check my Jewelry Supply pages to find what you need!
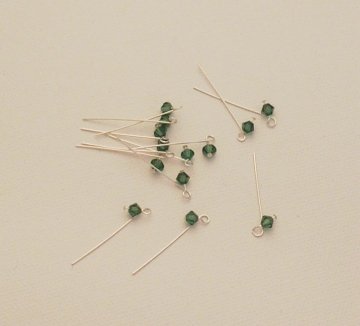
Step 2Prepare Crystal Dangle Components We will be attaching a single crystal bead to the bottom of each loop on the chandelier component, with the exception of four "drops" where we will attach two crystals, and the center drop where we will attach the briolette. I find it easier to prepare all my crystal danglies first, then attach them all with my pliers at the same time. Make a basic loop (if you aren't familiar with this technique, read How to Wire Wrap a Basic Loop). For four sets of these (per earring), attach one crystal dangle to the bottom of another one. You will need to create a wire loop on the top and bottom of one crystal, using sterling silver wire.
Step 3Make the Center Briolette Drop. Wire wrap the briolette bead, and attach it to a crystal that has been prepared with a loop on the top and bottom. Step 4Attach the Crystals Use your flat nose pliers to assist in closing the loops as you attach all the crystals to the chandelier earring component. Step 5Attach the completed chandelier to the earring component. That's it! Varations and OptionsYou can use any beads you like on these pre-made chandelier components, and it is hard to go wrong. I like crystals as they are eye-catching and work well with the swingy chandeliers. You can also vary the length of each drop. I attached crystals directly to the chandelier component, but you could make chains of 2-4 or even more crystals all linked together to get earrings that are even longer and more dramatic. Experiment with your designs and see what you can come up with!
|
Home How To Make Jewelry Jewelry Basics Jewelry Projects Designer's Gallery Jewelry Supply Jewelry Business Jewelry Books and More Contact Me Privacy Statement Copyright 2006 Smart Sisterz LLC |
What's New?
Coming Soon! Join our Newsletter for free jewelry design projects each month!


