Wire
Wrap Jewelry - Making Chains with Beaded Loops
Let's learn how to make wire wrapped loops to form entire bead chains. These
beaded chains are also sometimes called rosary chains.
Just be patient and practice and within a few hours you will have perfected the art of wire wrapping to create beaded chains. You
won't regret
the time it takes because you can make some stunning and unique jewelry with this technique! If
you're a beginner, give yourself a couple of hours to practice and use some inexpensive copper wire to start out. Just follow my step-by-step wire wrap jewelry instructions, below.
What you will need:
-
Round Nose or Chain Nose Pliers
-
Flat Nose Pliers
-
Beading Wire (copper, brass, colored craft wire, sterling silver, or 14KT gold filled).
-
Beads
This technique starts exactly the same as creating a basic wire loop. The only exception is that you will leave a little space between your first bend in the wire and your bead, so you will have a place to wrap a few spirals of wire around. Let me show you how
it's done.
Step 1
Find a wire of the proper gauge to fit through your bead holes. I usually use 22-26 gauge half hard sterling silver or gold-filled wire, but it is really a matter of preference for your own designs. Depending on how many wire wraps or spirals you plan to make between each bead and the loops, cut a nice length of wire to work with, about 5-6 inches or so.
TIP - Measure the first cut of wire, and pay attention to how much is wasted after making your first beaded loop, so you will know what length to cut all remaining wires for the rest of your design.
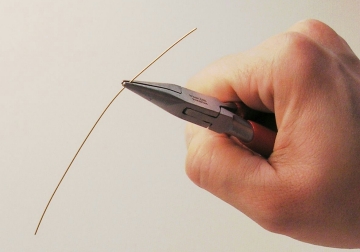
Preparing to make a right-angle bend in the wire:
Step 2
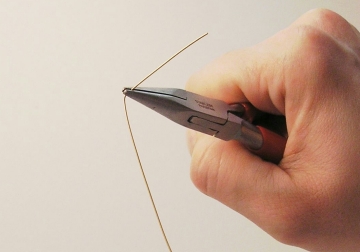
Begin by bending a right angle into the wire about two inches from the end. Using this as your starting point, form a simple round loop using your round nose jewelry pliers. Instead of closing the loop and cutting off the remaining tail of wire, you will instead grasp and hold your loop flat with your flat chain nose pliers, and grasp the wire tail and begin wrapping it around the "stem" of wire. This will take a little practice but you will get the hang of it. Press the wire tightly up against each preceding spiral so that it looks tight and neat. Count the number of spirals you made and when you are ready, cut the wire with your flush cutters.
TIP - Note how much excess wire you had to cut off, so you can subtract this amount from the length of your starting wire. You can now cut the remaining wires for your design to the proper length to save time.
Fold wire into bend with flat nose pliers:
Using round nose pliers, grasp wire about 1/4 inch from bend and begin to twist and roll wrist in a circular fashion to start the loop:
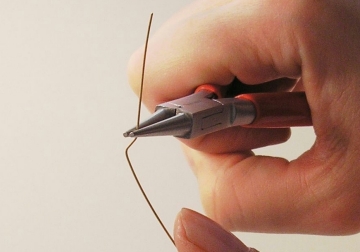
Keep rolling to create a circular loop:
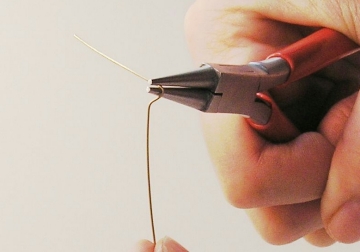
Grab the tail and pull it down and around to complete the circular shape of the loop:
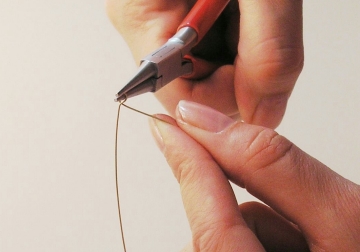
Grasp the tail wire and begin wrapping it around the wire stem:
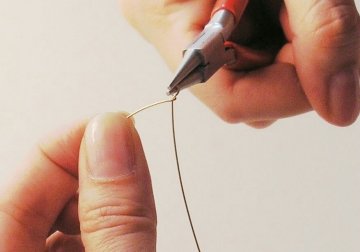
For traction (and to save my fingernails!), I like to use my flat nose pliers to hold the top loop steady as I wrap the wire. Keep wrapping until you get the desired number of loops, holding wire tight up against the prior spiral:
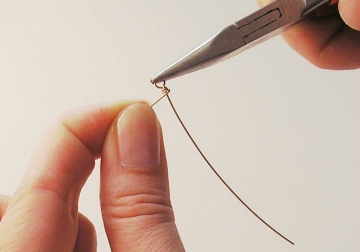
Step 3
Thread the first bead onto your wire. Next, allow a little space between the top of the bead and your next bend (enough room for the wire spirals on this side of the bead), and using your flat nose pliers, bend the wire at a right angle and create another round loop. Eyeball it and make sure your loop is the same diameter as the first loop you made. (TIP - Mark a point on the end of your round nose pliers using a permanent marker, and always grasp the wire at this same spot to get uniform loops). If you plan to use a clasp or an extender chain, attach it to this first end loop now.
Cutting end of tail with flush cutters:
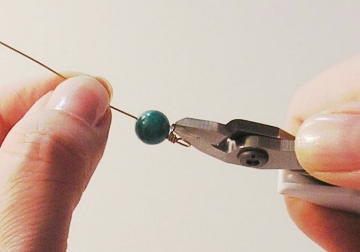
Grasp wire with some space at the top of the bead. Make right angle bend with flat nose pliers:
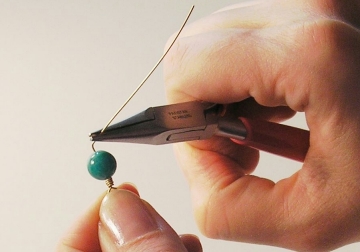
Grasp wire about 1/4 inch from bend with round nose pliers and start the loop:
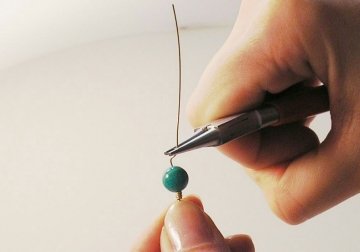
Rotating wrist in spiraling motion to complete the round loop:

Pulling tail of wire down and around to complete the circular shape of the loop:
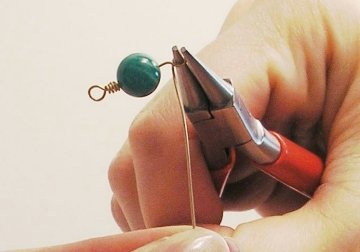
Holding the loop for traction with flat nose pliers while I begin to wrap the tail around the stem:
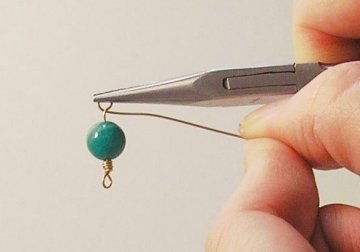
Step 4
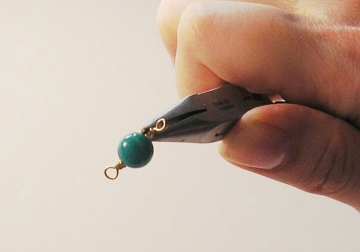
Using the remaining tail of wire, begin wrapping the wire tightly around the stem until you reach your bead. Use your flush cutters to cut the wire flush against the bead. Use your flat nose pliers to gently press the tail in tightly on both sides of the bead to create a more finished look and to prevent the wire from scratching.
Beginning to wrap tail of wire around the stem:
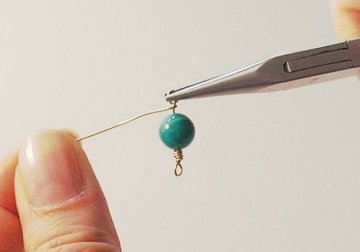
Continue wrapping until wire touches top of bead:
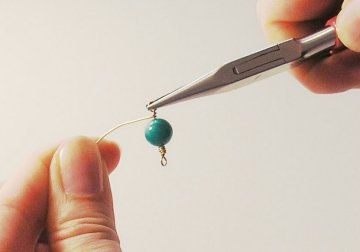
Cut excess wire with flush cutters:
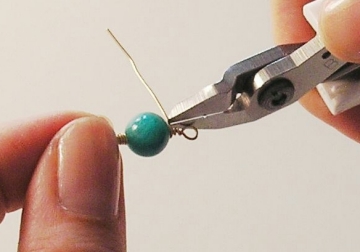
Pinch in the end of the wire with flat nose pliers so it doesn't stick out and scratch:
Step 5
That's it, you have created your first bead with loops on two sides! Now we begin the chain by adding the next bead. Start again with Step Two, by bending a right angle into the wire and creating your loop.
This time, before beginning to wrap the wire loops around the stem, first thread your first wire wrapped bead component onto the loop so you can begin creating the chain (thread it through the empty loop, not the one with the clasp or extender chain on it). With the first bead now attached to this second component, begin looping your wire in a spiral around the stem. Note how many loops you have (compare it to the first one so they are consistent), and once you have made enough loops, cut the wire with your flush cutters, and tuck the end piece down with your flat nose pliers. Thread your next bead onto the stem, allow enough space for the proper number of spirals, and make a round loop. Wrap the wire tail around to the bead, and cut it flush, again tucking in any scratchy ends with your flat nose pliers.
Attach first loop to the first bead component to start the chain:
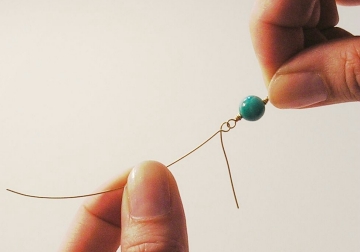
Holding top of loop for traction with flat nose pliers as I start to loop the wire around the stem:
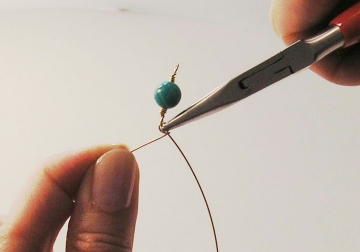
Completing spirals on this side, ready to add my next bead. Excess wire cut off:
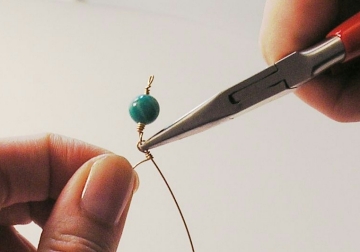
Bead added. Allowing a little space at the top of the bead, make a right angle bend with flat nose pliers:
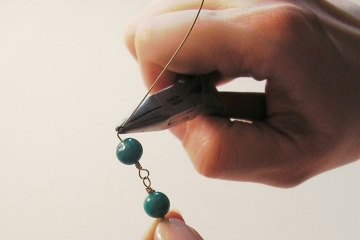
Grasping wire about 1/4 inch away from bend with round nose pliers, I start to rotate my wrist to form the loop:
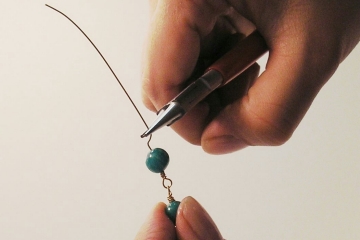
Rotating wrist and pliers to form the loop:
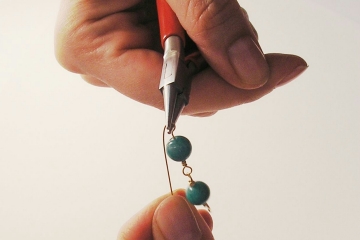
Grasp tail and pull it down and around to complete the circular loop:
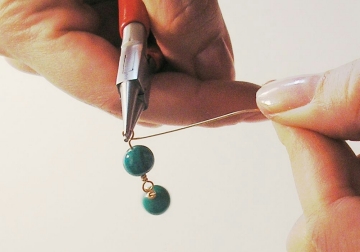
Wrap wire and make loops until you reach the top of the bead:
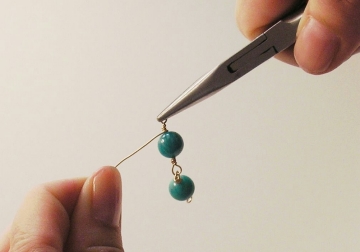
Clip off excess wire with flush cutters:
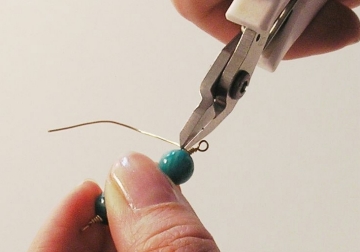
Tuck in tail of wire with flat nose pliers:
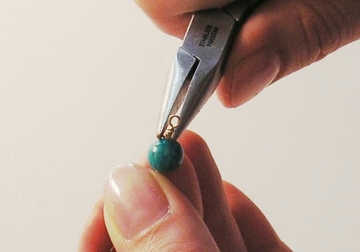
Step 6
Repeat steps 4-5 until your beaded chain is long enough for your design. Measure your chain periodically with a ruler, or use a bead design board to make sure your design will be the proper length. Don't forget you need to add room for the clasp at the end. Once you have reached the end bead, thread the clasp onto the final loop.
More Wire Wrapping
| 


